Software installation troubleshooting
If you encounter a problem during software installation, see the topics below for a
possible solution. If you encounter a hardware problem during setup, see
Hardware
setup troubleshooting
.
During a normal installation of the HP all-in-one software, the following events occur:
1
The HP all-in-one software CD-ROM runs automatically
2
The software installs
3
Files are copied to your hard drive
4
You are requested to connect the HP all-in-one to your computer
5
A green OK and check mark appear on an installation wizard screen
6
You are requested to restart your computer
7
The Fax Setup wizard runs
User Guide
173
Troubleshooting
information

8
The registration process runs
If any of these things did not occur, there might be a problem with the installation. To
check the installation on a PC, verify the following:
●
Start the HP Director and check to make sure the following icons appear: Scan
Picture, Scan Document, Send Fax and HP Gallery. For information on starting
HP Director, see the onscreen HP Image Zone Help that came with your
software. If the icons do not appear immediately, you might need to wait a few
minutes for the HP all-in-one to connect to your computer. Otherwise, see
Some of
the icons are missing in the HP Director
.
Note
If you performed a minimum installation of the software (as apposed to a
typical installation), the HP Image Zone and Copy are not installed and will
not be available from the HP Director.
●
Open the Printers dialog box and check to see that the HP all-in-one is listed.
●
Look in the system tray at the far right of the Windows taskbar for an HP all-in-one
icon. This indicates that the HP all-in-one is ready.
When I insert the CD-ROM into my computer’s CD-ROM drive, nothing happens
Solution
Do the following:
1
From the Windows Start menu, click Run.
2
In the Run dialog box, enter d:\setup.exe (if your CD-ROM drive is not
assigned to drive letter D, enter the appropriate drive letter), and then click OK.
The minimum system checks screen appears
Solution
Your system does not meet the minimum requirements to install the software. Click
Details to see what the specific problem is, and then correct the problem before
attempting to install the software.
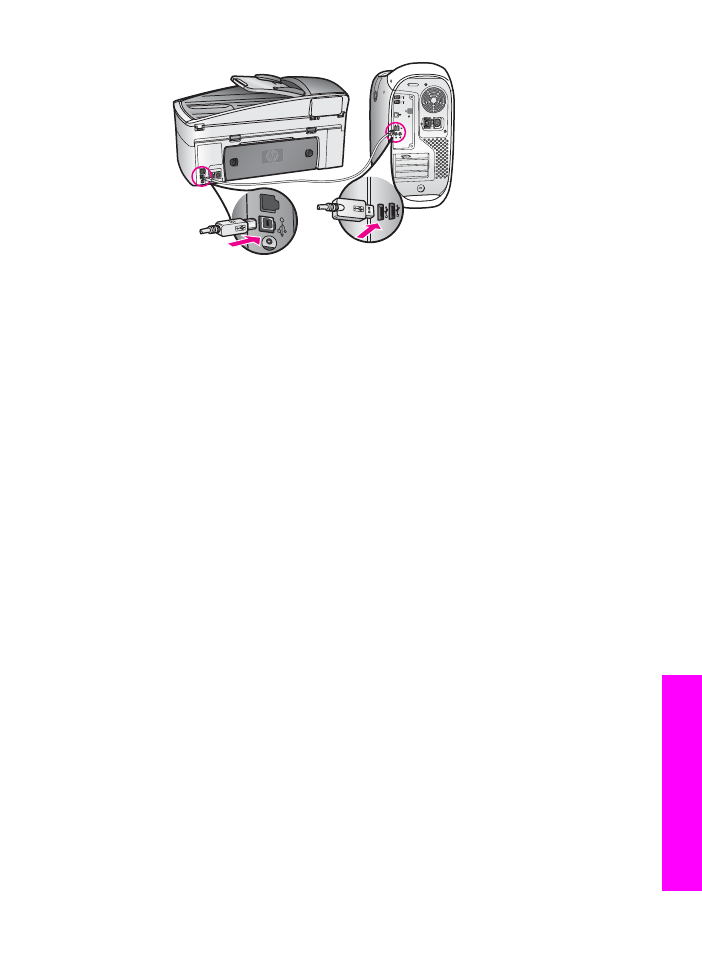
A red X appears on the USB connect prompt
Solution
Normally, a green check appears indicating that the plug and play is successful. A
red X indicates that the plug and play failed.
Do the following:
1
Verify that the control panel overlay is firmly attached, unplug the HP all-in-one
power cable, and then plug it in again.
2
Verify that the USB and power cables are plugged in.
Chapter 16
174
HP Officejet 7300/7400 series all-in-one
Troubleshooting
information

3
Click Retry to retry the plug and play setup. If this does not work, continue to
the next step.
4
Verify that the USB cable is set up properly as follows:
–
Unplug the USB cable and plug it in again.
–
Do not attach the USB cable to a keyboard or non-powered hub.
–
Verify that the USB cable is 3 meters or less in length.
–
If you have several USB devices attached to your computer, you might
want to unplug the other devices during the installation.
5
Continue with the installation and restart the computer when prompted. Then
open HP Director and check for the essential icons (Scan Picture, Scan
Document, Send Fax, and HP Gallery).
6
If the essential icons do not appear, remove the software and then reinstall it.
For more information, see
Uninstall and reinstall the software
.
I received a message that an unknown error has occurred
Solution
Try to continue with the installation. If that doesn’t work, stop and then restart the
installation, and follow the directions on the screen. If an error occurs, you might
need to uninstall and then reinstall the software. Do not simply delete the HP all-
in-one program files from your hard drive. Make sure to remove them properly
using the uninstall utility provided in the HP all-in-one program group.
For more information, see
Uninstall and reinstall the software
.
Some of the icons are missing in the HP Director
If the essential icons (Scan Picture, Scan Document, Send Fax, and HP Gallery)
do not appear, your installation might not be complete.
Solution
If your installation is incomplete, you might need to uninstall and then reinstall the
software. Do not simply delete the HP all-in-one program files from your hard drive.
Make sure to remove them properly using the uninstall utility provided in the
HP all-in-one program group. For more information, see
Uninstall and reinstall the
software
.
The fax wizard does not start
User Guide
175
Troubleshooting
information

Solution
Launch the fax wizard as follows:
1
Start the HP Director. For more information, see the onscreen HP Image
Zone Help that came with your software.
2
Click the Settings menu, select Fax Settings and Setup, then select Fax
Setup Wizard.
The registration screen does not appear
Solution
➔ In Windows, you can access the registration screen from the Windows taskbar
by clicking Start, pointing to Programs or All Programs (XP), Hewlett-
Packard, HP Officejet 7300/7400 series all-in-one, and then clicking Sign up
now.
The Digital Imaging Monitor does not appear in the system tray
Solution
If the Digital Imaging Monitor does not appear in the system tray, start the
HP Director to check whether or not essential icons are there. For more
information about starting the HP Director, see the onscreen HP Image Zone Help
that came with your software.
For more information about missing essential icons in the HP Director, see
Some
of the icons are missing in the HP Director
.
The system tray normally appears in the lower-right corner of the desktop.